You’ve been using Zim Wiki for years. It works fine. The notes are there. But you’re tired: tired of the janky GTK interface, tired of waiting for updates that never come, tired of explaining to your phone why it can’t see your notes. Obsidian keeps popping up in your feeds, and everyone’s singing its praises. Migrating is easier than you think, and there’s a tool that does most of the heavy lifting for you.
Enter zim2obsidian.
Why You’re Actually Leaving Zim
Let’s be honest: Zim is an old notebook. It’s functional, sure, but it feels like an artifact from 2008 (which, spoiler, it basically is). No mobile sync. No graph view of your notes. No real plugin ecosystem. The GTK interface is… passable, but you’ve outgrown it.
Obsidian, meanwhile, has got momentum. It syncs to your phone. The graph view lets you actually see how your notes connect. The plugin community is absurd, there are plugins for everything from PDF annotation to AI integrations. And it’s built on markdown, which means your notes aren’t locked in some proprietary database.
If you’re running a home lab, self-hosting services, or just trying to wrangle your knowledge base while standing up at 2 AM during an incident, Obsidian is a better tool. And moving over isn’t painful.
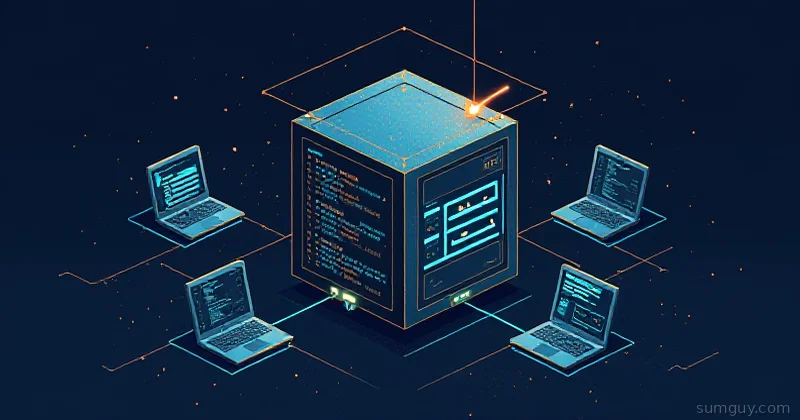
Getting zim2obsidian Running
Start simple. The tool isn’t on PyPI, so install it straight from GitHub with pipx (keeps it isolated and puts the zim2obsidian command on your PATH):
pipx install git+https://github.com/aplgr/zim-to-obsidian.gitIf you’re feeling cautious (which you should), grab the source directly and install it from the clone:
git clone https://github.com/aplgr/zim-to-obsidian.gitcd zim-to-obsidianpip install .Verify it’s installed:
zim2obsidian --versionYou should see a version number. If you get “command not found”, your PATH isn’t picking it up, check that your Python bin directory is in there, or use python -m zim2obsidian as a fallback.
The Conversion: The Actual Thing
Before you blow up your current setup, make a backup of your Zim notebook. Seriously. Do this:
cp -r ~/.local/share/zim/notebooks/MyNotebook ~/MyNotebook.backupNow, the conversion itself is one command:
zim2obsidian /path/to/zim/notebook /path/to/obsidian/vaultReplace those paths with your actual notebook path and wherever you want the Obsidian vault to land. If the destination doesn’t exist, the tool creates it. Handy.
What happens:
- All your Zim pages become
.mdfiles - The folder hierarchy stays intact (Zim’s nested structure becomes Obsidian’s folder structure)
- Wikilinks get converted from Zim’s format to Obsidian’s
[[page name]]format - Images and attachments get moved over
The whole thing takes seconds, unless you’ve got thousands of notes, in which case it might take a minute or two. Your 2 AM self will appreciate that it’s not a five-hour manual merge.
What Gets Converted Well (And What Doesn’t)
The tool handles 95% of the migration without breaking a sweat:
- Pages: All your content transfers fine
- Folder hierarchy: Nested notebooks become nested folders
- Basic links:
[[page names]]conversion works smoothly - Tags: Metadata gets respected
But here’s where it gets spicy: Zim uses CamelCase links like [[SomeNote]] to denote internal references. Obsidian uses [[note name]] with spaces. The tool converts these, but if you’ve got edge cases, weird Unicode characters, notes with special symbols, deeply nested structures, check the output. A quick scan of your most important folders saves headaches later.
Inline formatting (bold, italic, lists) converts cleanly. Code blocks work fine. But if you’ve been using Zim’s special markup for things like checklists or embedded spreadsheets, those need manual attention. Obsidian handles checklists differently, and that fancy Excel-like table you embedded? It becomes just text. Not the end of the world, but worth knowing.
Images and Attachments: Verify Before You Trust
Run the conversion on a test copy first. Here’s why:
zim2obsidian ~/MyNotebook.backup ~/test-vaultThen poke around test-vault. Open a note that had images in Zim. Does the image show up? Check the folder structure in Obsidian:
ls -la ~/test-vault/ls -la ~/test-vault/attachments/Images usually land in an attachments/ folder, and the markdown links point there correctly. But occasionally, relative paths get weird, especially if your Zim notebook had a non-standard structure. A dry run catches this before you’re too far in.
Opening Your Vault in Obsidian
Once conversion is done and images check out, install Obsidian (if you haven’t):
# Flatpak (works on most distros)flatpak install flathub md.obsidian.Obsidian
# Or grab the .deb / AppImage from https://obsidian.md
Open Obsidian. Create a new vault, then choose “Open folder as vault” and point it at your converted directory. Obsidian scans the folder, indexes everything, and you’re live.
First time opening it, you’ll see that graph view on the right. Watch it for a second, seeing your notes as an interconnected web is kind of addictive. That’s also when you realize how fragmented your knowledge actually is.
Getting Sync Working (The Key Reason You Migrated)
Here’s where the migration pays for itself. Pick a sync method:
Option 1: Obsidian Sync (native, easiest)
- Starts at $4/month (billed annually) for the Standard plan; more storage and vaults on the higher tier
- Encrypted, just works, mobile app syncs automatically
- If you’re serious about your second brain, it’s worth it
Option 2: Self-hosted sync (the sysadmin way)
- Use obsidian-livesync with a self-hosted CouchDB backend
- We’ve got a full article on setting this up, link it in your vault and come back to it later
- It’s free and you control the data, but requires some infrastructure legwork
Option 3: Git sync (cowboy mode)
- Treat your vault as a git repo, push to GitHub/GitLab
- Works, but Obsidian doesn’t natively support this, you’ll need a third-party plugin
- Great if you’re already version-controlling everything
Most people go with Option 1. You’ll install the Obsidian app on your phone, authenticate once, and your notes appear on every device. No more “why isn’t my note here?” moments at 3 AM.
One Last Thing: Keep Your Backup Around
Even after the vault is humming along in Obsidian, keep that original Zim backup for a week or two. Just in case you realize you missed something, or find a note that converted weirdly and want to compare side-by-side.
You can always delete it later. Your 2 AM self will thank you for not being paranoid but also not being reckless.
The Move Is Painless. Actually Do It.
If you’ve been on the fence about Obsidian, stop fence-sitting. The migration tool handles the hard part, and you get mobile sync, a graph view, and an enormous plugin ecosystem on the other side. Zim got you here, but it’s time to graduate.
Set a quiet evening aside, run the conversion, and welcome to the second-brain industrial complex. You’re gonna love the graph view.