You rent a shiny new dedicated server or VPS. You get one public IP address. Fantastic. You also want to run a web server, a database, a reverse proxy, and maybe a Minecraft server: all on the same physical hardware. Now what?
Enter Proxmox NAT bridging. With a single public IP and some iptables magic, you can run as many VMs and LXC containers as your RAM allows, each one reachable from the internet on specific ports. No additional IPs needed.
The Problem (and Why It Matters)
Your hosting provider gives you one IPv4 address because they’re not swimming in them anymore. Each extra IP costs money, sometimes $2 to $10/month. If you’re running a homelab or a cost-conscious production server, you need to squeeze multiple services through one pipe.
Without NAT, every container would need its own public IP. With NAT, you forward specific ports on your public IP to specific ports on internal container IPs. Port 80 (HTTP) goes to your Nginx reverse proxy. Port 2222 (custom SSH) goes to a different container. Port 5432 (PostgreSQL) stays internal only. You control it all.
Quick Networking Primer
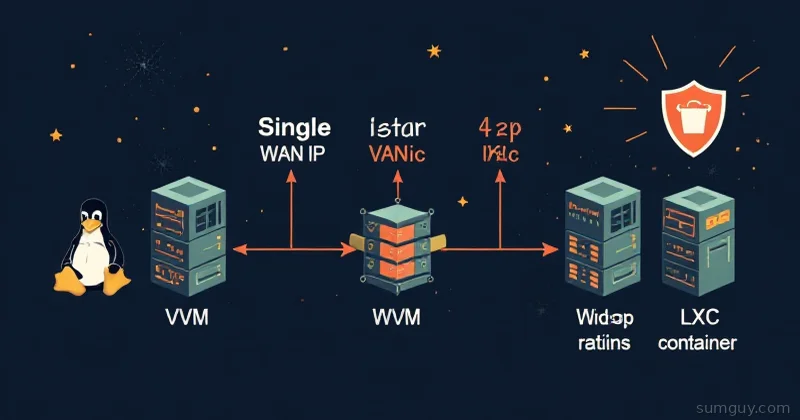
Proxmox runs on top of Linux bridges. When you install Proxmox, you get vmbr0, the main bridge tied to your physical network card with your public IP. All your VMs and containers can attach to this bridge and get routable IPs… but if you do that, each one needs its own public IP.
Instead, we create a second bridge, vmbr1, that lives entirely in software with no physical port. This is our internal network. VMs and containers attach to vmbr1 and get private IPs like 10.10.10.10, 10.10.10.20, etc. NAT rules on the Proxmox host translate traffic between the public IP and these private IPs.
Method 1: The Manual Way (Editing /etc/network/interfaces)
This is the traditional, portable approach. SSH into your Proxmox host and edit /etc/network/interfaces:
auto loiface lo inet loopback
auto enp3s0iface enp3s0 inet manual
auto vmbr0iface vmbr0 inet static    address 192.0.2.100    netmask 255.255.255.0    gateway 192.0.2.1    dns-nameservers 1.1.1.1 8.8.8.8    bridge_ports enp3s0    bridge_stp off    bridge_fd 0
auto vmbr1iface vmbr1 inet static    address 10.10.10.1    netmask 255.255.255.0    bridge_ports none    bridge_stp off    bridge_fd 0    post-up   echo 1 > /proc/sys/net/ipv4/ip_forward    post-up   iptables -t nat -A POSTROUTING -s '10.10.10.0/24' -o vmbr0 -j MASQUERADE    post-down iptables -t nat -D POSTROUTING -s '10.10.10.0/24' -o vmbr0 -j MASQUERADE    post-up   iptables -t nat -A PREROUTING -i vmbr0 -p tcp --dport 80   -j DNAT --to 10.10.10.10:80    post-down iptables -t nat -D PREROUTING -i vmbr0 -p tcp --dport 80   -j DNAT --to 10.10.10.10:80    post-up   iptables -t nat -A PREROUTING -i vmbr0 -p tcp --dport 443  -j DNAT --to 10.10.10.10:443    post-down iptables -t nat -D PREROUTING -i vmbr0 -p tcp --dport 443  -j DNAT --to 10.10.10.10:443    post-up   iptables -t nat -A PREROUTING -i vmbr0 -p tcp --dport 2222 -j DNAT --to 10.10.10.20:22    post-down iptables -t nat -D PREROUTING -i vmbr0 -p tcp --dport 2222 -j DNAT --to 10.10.10.20:22
Let me break this down:
vmbr0is your WAN bridge. It’s tied to your physical NIC (enp3s0) and has your public IP.vmbr1is your internal NAT bridge. No physical ports (bridge_ports none), static internal IP of10.10.10.1.post-up echo 1 > /proc/sys/net/ipv4/ip_forwardenables IP forwarding: required for any NAT to work.POSTROUTING MASQUERADErule rewrites outbound traffic from10.10.10.0/24to look like it came fromvmbr0(your public IP). This is how containers reach the internet.PREROUTING DNATrules rewrite inbound traffic on specific ports. Port 80 →10.10.10.10:80. Port 443 →10.10.10.10:443. Port 2222 →10.10.10.20:22.
The Gotcha: ip_forward Doesn’t Persist
Here’s where people get burned. The post-up echo 1 > /proc/sys/net/ipv4/ip_forward line in vmbr1 only lasts until reboot. The next time Proxmox starts, ip_forward resets to 0, traffic stops flowing, and you’re debugging at 2 AM.
Fix this by setting it in /etc/sysctl.d/99-proxmox-nat.conf:
net.ipv4.ip_forward = 1Then apply it without rebooting:
sysctl --systemsysctl net.ipv4.ip_forward # verify it's 1Now it persists across boots.
Method 2: The Proxmox GUI (For Proxmox 6+)
If you prefer pointing and clicking, Proxmox has a web UI for network config. Go to your node → System → Network → Create → Linux Bridge:
- Name:
vmbr1 - IPv4/CIDR:
10.10.10.1/24 - Bridge ports: Leave empty (no physical ports)
- Apply Configuration
The GUI creates the bridge in /etc/network/interfaces for you. However, you still need the iptables rules. Either add them manually to the post-up section in interfaces, or use Proxmox’s firewall feature (Node → Firewall → Rules) to define port forwarding.
Applying Changes Without Rebooting
After editing /etc/network/interfaces, reload the entire network stack:
ifreload -aThis is from the ifupdown2 package, which is standard in Proxmox 7+. It cleanly brings down and up all interfaces, re-running all post-up and post-down rules.
Avoid just running ifup vmbr1 alone, it won’t trigger the full reload and you might miss rule updates.
Configuring VMs and LXC Containers
Once vmbr1 exists, attach your VMs and containers to it:
- For a VM: Edit the VM’s hardware → Network → select
vmbr1from the bridge dropdown → add a network device - For an LXC container: Edit the container’s Network section → set the bridge to
vmbr1
Inside each VM/container, configure a static IP and gateway:
auto eth0iface eth0 inet static address 10.10.10.10 netmask 255.255.255.0 gateway 10.10.10.1 dns-nameservers 1.1.1.1 8.8.8.8The gateway must be 10.10.10.1, that’s the Proxmox bridge IP.
The Reverse Proxy Pattern (Recommended)
Don’t forward ports 80/443 to individual VMs. That’s chaos. Instead, forward them to a reverse proxy running on 10.10.10.10, Nginx Proxy Manager, Traefik, Caddy, or HAProxy. Then let the proxy route traffic to backend services by hostname.
This way you only have two DNAT rules (80 and 443), and you can add unlimited websites by just updating the proxy config. Much cleaner.
Troubleshooting
VMs can reach the Proxmox host but not other VMs?
Check the VM’s firewall isn’t blocking internal traffic. Test with ping 10.10.10.1 from inside the VM.
VMs can’t reach the internet?
iptables -t nat -L -n -vLook for the POSTROUTING MASQUERADE rule. If it’s missing, the post-up rule didn’t run. Reload with ifreload -a.
Port forward not working? Check the PREROUTING rules exist:
iptables -t nat -L -n -v | grep PREROUTINGAlso verify IP forwarding is on:
sysctl net.ipv4.ip_forward # should be 1Can’t SSH into a container via port 2222?
nc -zv 192.0.2.100 2222If that fails, the port forward isn’t working. If it succeeds, the container’s firewall is probably blocking SSH on port 22.
Modern Alternatives
Cloudflare Tunnel: Zero port forwarding for HTTP/HTTPS. Install the tunnel daemon on one container, point your domain’s DNS to Cloudflare, and all traffic flows through their network. Free tier exists. Downside: only works for web traffic, not SSH or custom protocols.
Tailscale: Give each VM a Tailscale IP. Access everything privately without any port forwarding. Excellent for private access but doesn’t help if you need public internet services.
Extra public IPs: Some hosters sell additional IPs for $2 to 5/month. If you need more than 3 to 4 services with unique IPs, just buy them.
Proxmox SDN (Software Defined Networking): Proxmox 7.3+ has a full SDN layer. Overkill for single-server setups but powerful for multi-node clusters.
Wrapping Up
NAT bridging is how you squeeze multiple VMs and containers through a single public IP. The setup is simple: one bridge, a few iptables rules, and sysctl persistence. The gotchas are real (ip_forward, reloading the stack), but once you know them, it’s a rock-solid pattern.
Your 2 AM self will thank you when you put that persistence flag in sysctl before going to bed.